
Install Chrona Scheduler
Chrona Scheduler is a drag-and-drop scheduler for any Dataverse table that has a start and an end column. It runs inside your model-driven apps. You do not need a Chrona account to use it. Optimize connects your environment to the Chrona service in one step; there is no sign-up form.
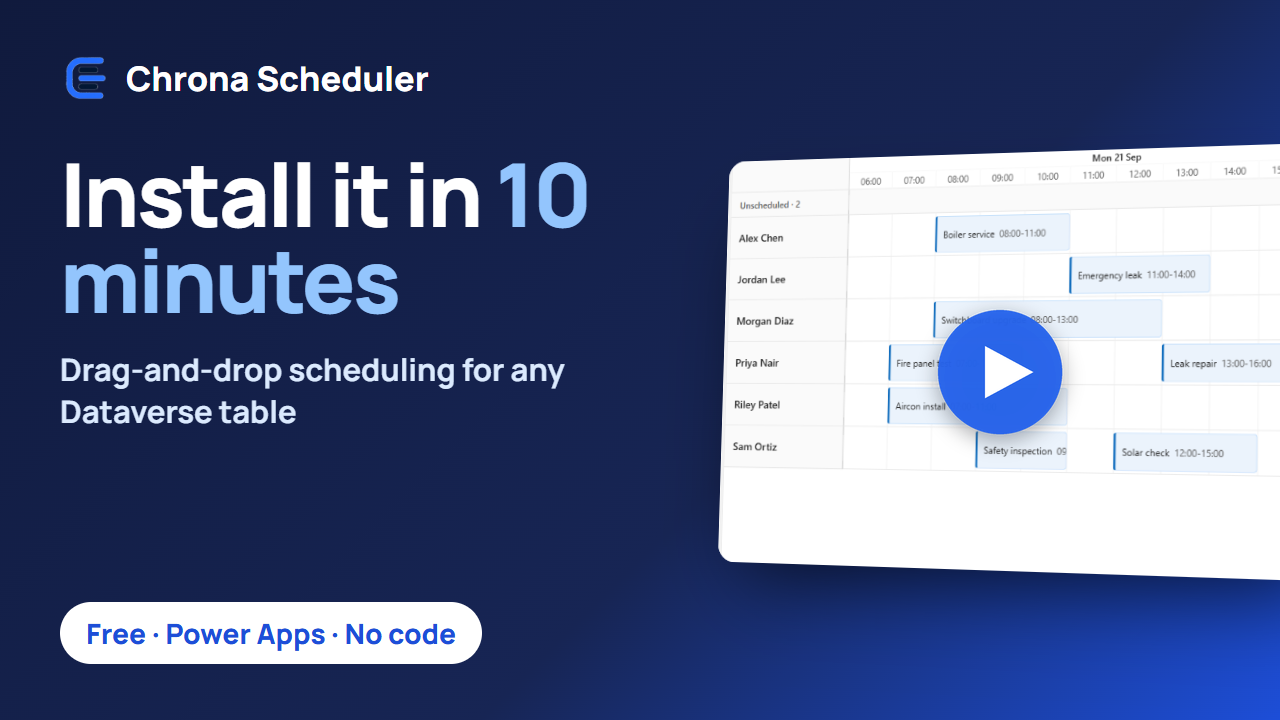
The video walks the import, access, binding and first drag in about six minutes, with captions.
What you need
- A Power Platform environment with Dataverse, where you are a System Administrator or System Customizer.
01-ChronaScheduler_<version>_managed.zip, the file in this download, with the release in its name, for example01-ChronaScheduler_0_1_24_managed.zip. New downloads: takeChronaScheduler-<version>.zipfrom https://github.com/konfigure8/chrona-scheduler/releases, not the Source code archives; it holds the package and this guide.
1. Import the solution
- Open https://make.powerapps.com and pick your environment at the top right.
- Select Solutions, then Import solution.
- Select Browse, choose
01-ChronaScheduler_<version>_managed.zip, then select Next. - The wizard shows an Environment Variables step with two addresses already filled in. Its heading may say 2 updates needed; that is the wizard’s wording for the prefilled values. Leave them as they are and select Import.
- The solution appears in the list when the import has finished, and the banner reports that Chrona Scheduler was imported. The banner may also say that translated labels for a language could not be imported. Dataverse installs labels only for languages enabled in the environment; this warning does not stop the scheduler import.
The solution is managed. You do not edit it; you update it by importing a newer version. The Managed filter on the Solutions page lists it. To remove it later, first take Chrona Scheduler off the views that use it, then delete the solution from the Solutions list: the platform refuses to delete a solution a view still depends on, and names those views.
2. Give people access
- People who use the scheduler need the security role Chrona Scheduler User.
- People who configure it need Chrona Scheduler Admin.
- System Administrators need nothing more.
Assign roles in the Power Platform admin center: Environments, your environment, Settings, Users + permissions, Users, select the user, Manage security roles.
3. Put the scheduler on a table
Pick the table you want to schedule, for example bookings, jobs, or shifts. It needs a text column for the title, a date and time column for the start, and one for the end. A lookup column for the person or asset each row is assigned to gives you lanes; without one the scheduler is a calendar. The table’s Owner is not offered as that lookup, so add one, for example Assigned to.
If you are creating the table now: Tables, New table, Table (advanced properties), name it, Save. Then add the columns with New, Column: Start and End with data type Date and time, and if you want lanes, Assigned to with data type Lookup and related table User (choose the entry named exactly User). Finish with Update forms and views: pick the new columns and select Update, then Solutions, Publish all customizations, so they appear on the form.
- Open the table, select Views, and open the view you want to schedule. Active rows is a good start. Use a view that does not have the scheduler yet: changing its bindings on a view that already has it can leave the property pane loading.
- On the view designer’s command bar, select Components, then Add a component.
- Chrona Scheduler is not in the short list yet. Select Get more components, select the Chrona Scheduler row, then Add. Now select Chrona Scheduler in the list.
- The property pane lists many bindings. Three are marked required: Title to your title column, Start to your start column, End to your end column. Bind Resource to your person or asset lookup if you want lanes. Leave the optional bindings at Select an option and leave Calendar configuration empty.
- Under Show component on, keep Web and Tablet and untick Mobile; the phone layout is not part of this release. Select Done; it stays grey until Title, Start, and End are bound. Then select Save in the Components pane.
- Select Save and publish.
4. Open it in an app
The scheduler shows wherever that view opens in a model-driven app. If your table is not in an app yet, open the table and select Create an app; the app is created and published with your table in it. Select Play and open the view you configured. If the app’s form does not show your new columns yet, wait a few minutes and reload.
Add your first rows with + New event in the scheduler, or with New in the app.
Install with an agent
Your coding agent can do the four steps for you when it holds two servers: Microsoft’s Dataverse MCP server for your environment, and the Chrona server at https://mcp.chrona365.com/mcp, which answers with this guide, a mapping recipe for your table, and the requests in order. No sign-in, nothing to install, and the Chrona server reads nothing from your environment: every change goes through your own Dataverse tools, so you see it and can undo it.
Give the agent your environment’s address and https://github.com/konfigure8/chrona-scheduler, then answer its questions about your table: which view, and which columns are the title, the start, the end and the person.
- Agents that take a URL, such as Claude Code or VS Code: add
https://mcp.chrona365.com/mcpas an MCP server named Chrona Scheduler. - Copilot Studio: after the import, the connector Chrona Scheduler is in your environment. In the agent’s Tools page select Add a tool, search for Chrona Scheduler, select it, then Add to agent. Without the import, add it by address: Add a tool, New tool, Model Context Protocol, the address above, authentication None.
- If a data policy blocks custom connectors in your environment, an admin adds Chrona Scheduler to the policy’s business data group; the server keeps none of your data, only a count of tool calls per day.
When a tool asks for a description, use: Chrona Scheduler, the install guide, a mapping recipe for a table, the install as ordered Dataverse Web API requests, and agreement setup for Chrona Workforce Scheduler.
What works before you connect
Drag to move and resize, create and edit rows, and switch between the day, week, work week and month scales. Every edit is saved to your table. Right-click a row for Open record and your app’s own commands.
Settings
Working hours, weekends, the time scale, the time zone, grouping, capacity and the collision policies live in two rows the scheduler reads: the Chrona Scheduler Calendar row for your table and the Chrona Scheduler View row for the view. Connect creates them; edit them in the maker portal under Tables. Every setting is listed at https://chrona365.com/docs/scheduler/configure.
Optimize
Optimize asks the Chrona service to fill and balance the schedule. Select Optimize, read what it does, and select Try a free sample run. That connects your environment to Chrona, creates the scheduler configuration it needs, and runs a first sample optimization. A connected environment gets a free daily allowance of optimizations; nothing about the scheduler itself changes. Connecting does not ask you to sign up; a Chrona account matters only for plans and usage. If your organisation already has a Chrona account, an owner or admin of that account approves each new environment in the Chrona Portal first. Then select Try a free sample run again within 24 hours. When the day’s free allowance is used, the scheduler says so and Optimize returns the next day. An answer arrives as a proposal on the board: review it, drop what you disagree with, and select Apply. Nothing is written before that.